

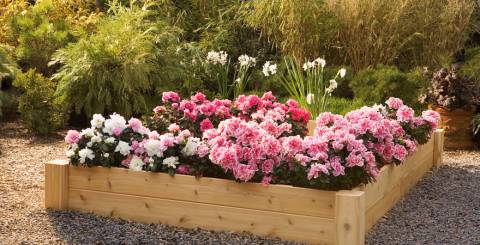
Here we will explore the process of building and installing raised garden beds. They are usually used by gardeners with experience to tackle an otherwise long and annoying list of challenges that come with the hobby of gardening. The purpose of a raised garden bed is to fill it with soil and compost that you have blended yourself to suit the needs of the plants you are growing. Also, the bed walls have drainage points in order to fight erosion. Also, the raised garden bed allows for the closer spacing of plants in order for the yields to go up. They are also efficient when it comes to water use and the weeds don’t find their way into them. These are just some of the numerous merits that come with raised garden beds.
#1. Building Your Raised Garden Beds
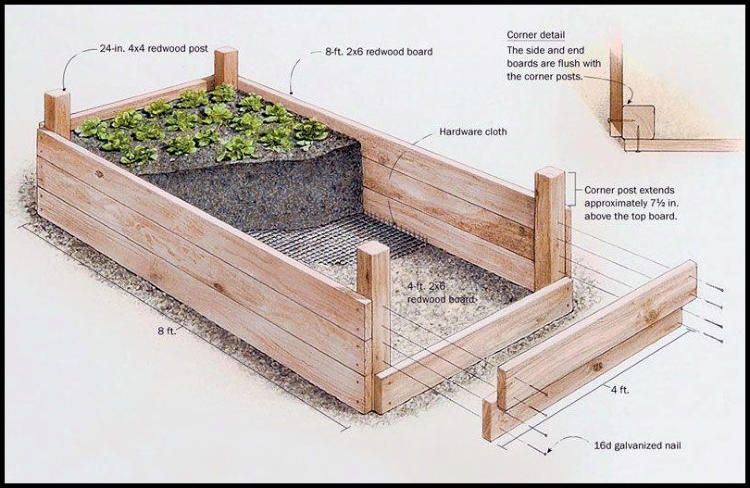
The best way to approach this is to construct a bottomless frame that you will later set into a shallow trench. Even if you have no previous experience, don’t worry – it’s not rocket science, you will surely be able to do it by following the steps mentioned here.
The frame you can build from a material of your choosing such as interlocking blocks, concrete, brick or even rock. However, the most commonly used material for garden raised beds remains lumber. So your best option is the naturally rot-resistant redwood or cedar.
The ideal bed should be wide enough to support the growth of, say, sprawling tomatoes. At the same time, it should also be narrow enough so you can reach easily from all sides. The recommended height is between 1 and 2 ft. Making your bed taller means that you will need more soil to fill it up properly.
#2. Find The Best Location
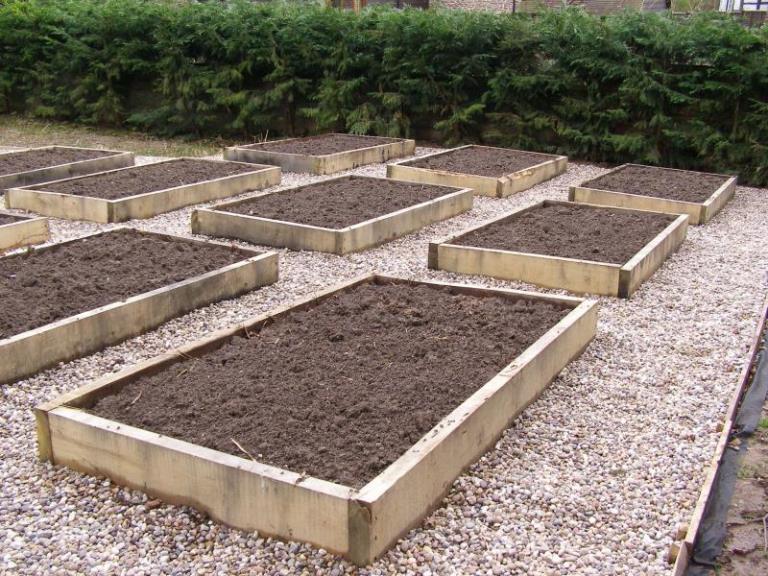
The best place to put your beds would be a flat spot (to avoid that is exposed to enough sunlight. Also, align the beds in straight rows in order to make the watering process easier. This will also prove to be useful later if you are planning to install an irrigation system.
#3. Prepare The Site
Once you have selected the best possible slot for your beds, you should prepare them properly. This means getting rid of unwanted turf and weeds. Also, you need to outline the dimensions of the bed on the ground and dig deep enough in order to be able to bury half of the lumber. You won’t be experiencing any problems with poor drainage as raised beds are made so that the water will trickle down. In case there is no turf between your beds, place some landscape fabric and cover it well with pavers. This will surely improve the drainage in case you are experiencing difficulties.
You can start by building the walls separately, then fasten them firmly and place the bed carefully. For extra stability, you can sink posts into the ground. Then place a cap railing around the top of the bed as a finishing move – this will hold it together. Once the lumber is in place, level the ground at the bottom of the bed. Place some anti-weed landscape fabric and make sure it extends to the outer edges of the wooden frame.
#4. Pest-Proof The Beds

Now, we can’t talk about gardening without mentioning pests as well. Often the soil in raised beds has worms which attract moles while voles love to snack on the roots of young vegetables. To keep the burrowing infiltrators at bay, place a bottom layer of hardware cloth. Some sort of steel mesh grid or galvanized metal will do the trick.
#5. Extend The Growing Season With Greenhouse Effect
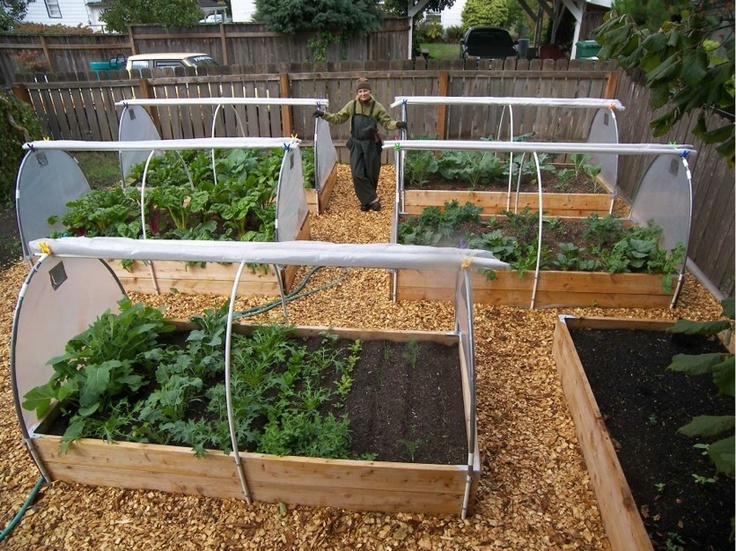
You can construct a framework of hoops and a light cover to keep them veggies growing for a while longer and protect the beds from hungry birds and insects at the same time. Install a PVC pipe inside the bed walls by using galvanized pipe straps. Cut a half inch flexible PVC that is at least as twice as long as your bed’s width. Bend it carefully, then mount it. For the early spring and fall periods, use transparent polyethylene film to raise the air temperatures. However, make sure to remove the covering once the warmer days come.
Well, once all this is done, you can start planting and watering. Soon you will be able to enjoy your very own home-grown food.